Jewellery Techniques: How to Create a Perfect Ring Join for Soldering
A perfect join is the very most important thing when creating rings (it can also be the most frustrating). It has little to do with your soldering skills, and everything to do with the preparation of the join, so creating a perfect join is a technique that, once mastered, will enable you to create perfect rings every time.
Why take the time to perfect this skill?
When you have mastered the art of creating a perfect join you will: Use less solder, Spend less time cleaning-up and speed up your process. What’s not to love?

To create a perfect join, make sure you have an even curve where the ends of the wire meet
Step 1: Rounding the ring
When you’re rounding your ring on a mandrel it’s important to make sure the ends of your wire are coming together in a nice curve. The rest of your ring doesn’t matter too much at this point, but you want the ends to be nicely rounded and pointing towards each other.

Use a flat file to create two ends that come together flat surface to flat surface
Step 2: File the ends of the ring
Once you have a good curve on each end bring your ring over to your bench peg and take a look at the ends. If the ends were straight-ish to begin with they should come together with the bottom edges touching and a gap at the top.
To get the ends of the wire to come together with no gaps or holes take a flat file and prise apart the ring enough so that your file fits in the gap.
Hold your ring firmly on the side of your bench peg and file the wire ends flat by removing metal from the lower (internal) edge of the wire. Keep filing and checking until that gap at the top has disappeared and the ends are coming together flat surface to flat surface.

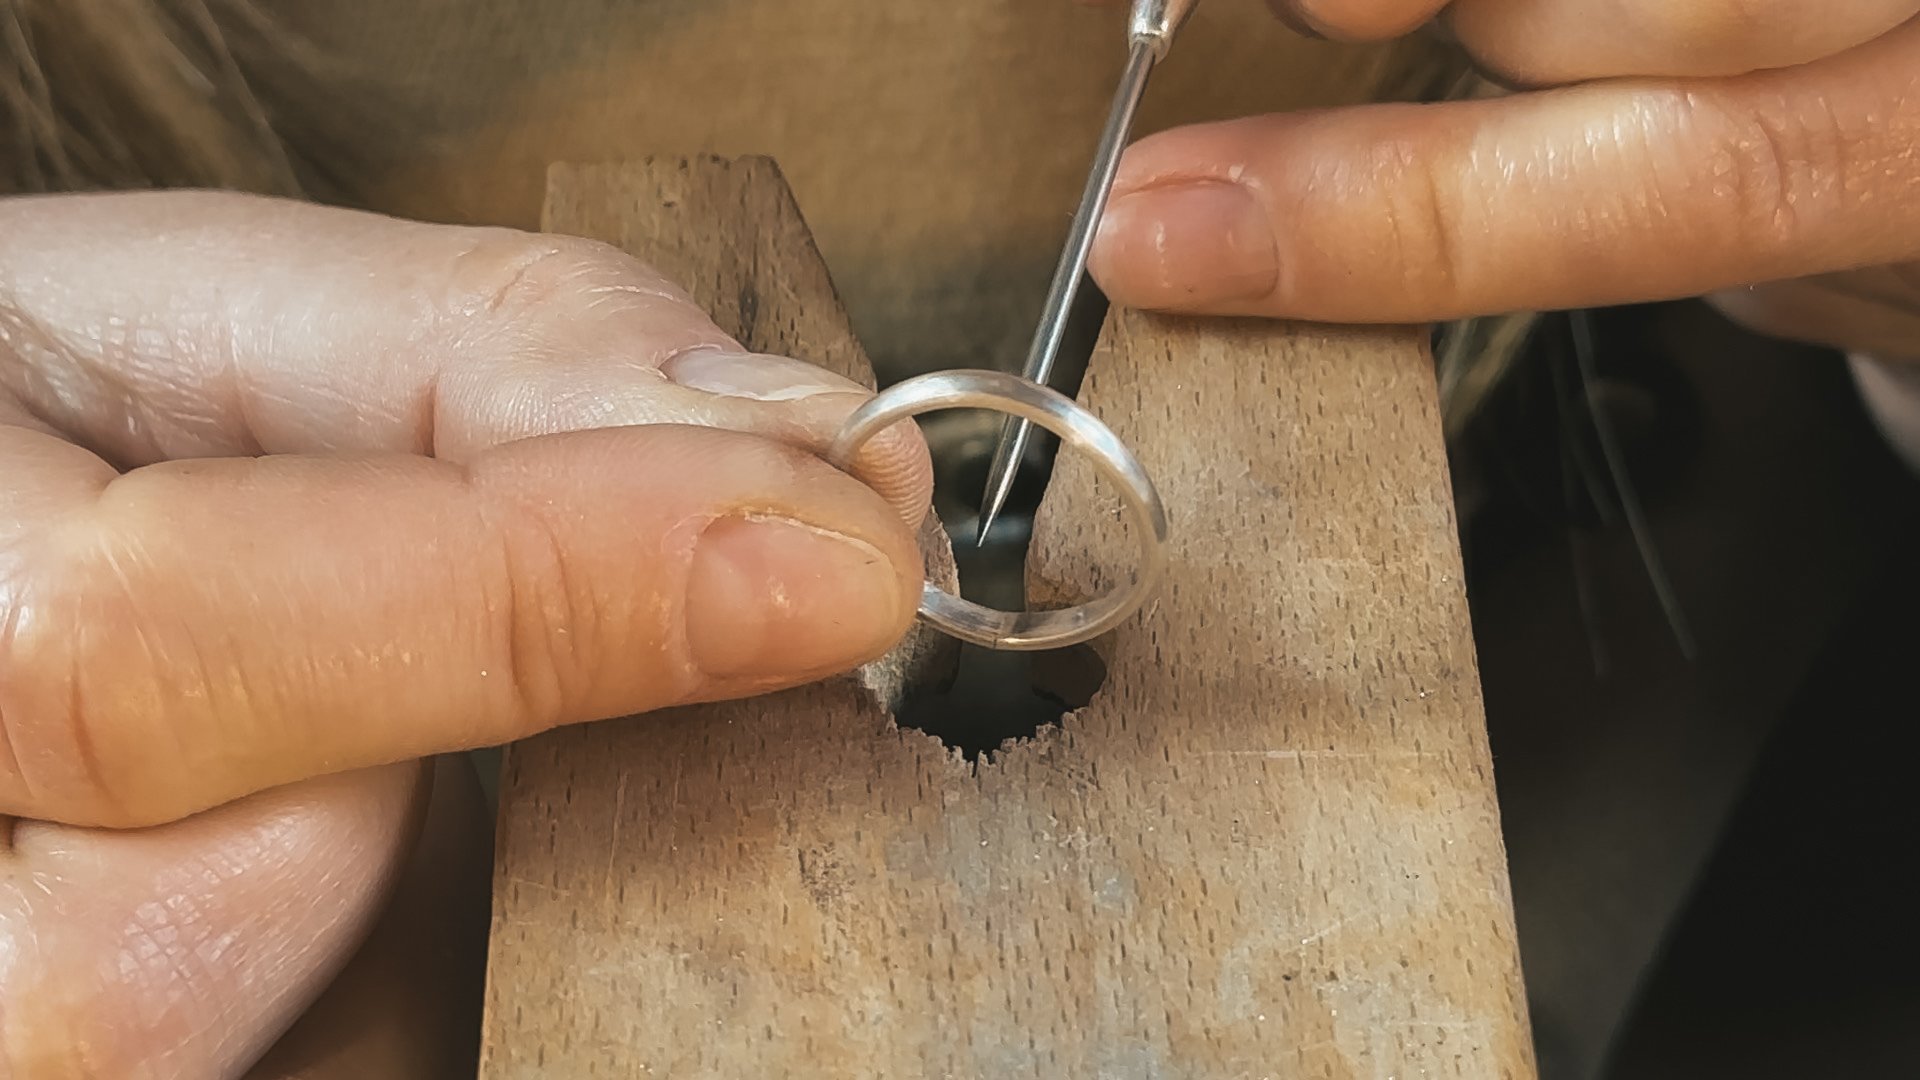
Saw through the join from the outside in…

…and then from the inside out
Step 3: Saw through the join
Cross the ends over so that they overlap enough so that they don’t spring apart when released and the ends remain touching.
Hold the ring with your free hand as tightly as you can and press the join together so that the ring can’t move or warp. Take your jewellers saw and, placing your ring as far back in your bench peg gap as you can for maximum support, saw through the join from the outside in, and then from the inside out. This will remove a small amount of silver from both ends at the same time producing a flush join.
You may need to repeat this step a few times.

A perfect join should have no gaps or holes on the outside…
…or the inside
Step 4: Bring the join together and Voilà
Then, cross your ends over and bring them together one last time, and voila, the perfect ring join ready for soldering!
Ready to take a Deeper Dive into ring making?
Discover all the Cognac Jewellery School Online Courses