
What is a Polishing Motor and how to use one in Jewellery Making & Silversmithing
*Please note that some of the links in this post are affiliated

My face after an afternoon at the polishing motor. No doubt polishing is a very messy business!

Polished Silver Napkin Ring and a selection of polishing motor mops and brushes
When I was just starting out a mentor told me that polishing should take up at least half the making time of your creations. Of course, at first I thought that seemed absurd, but after a few dozen hours at the polishing motor I had realised he was absolutely right. To achieve a high quality finished piece, time spent polishing is essential. So today we’re taking an introductory look at the Polishing Motor to explore what it is, how it works, and what it’s used for, as well as some common attachments and polishing compounds.
What is a Polishing Motor?
A polishing motor is a power tool designed specifically for polishing, buffing, and finishing metal. It typically consists of a motor that spins one or two spindles at a high speed. Polishing wheels and mops are attached to the end of the spindles and used with a polishing compound to smooth metal surfaces and bring out the shine in your pieces. Polishing motors come in various sizes, styles, and budgets depending on the kind of pieces you’re making but they all essentially function in the same way.
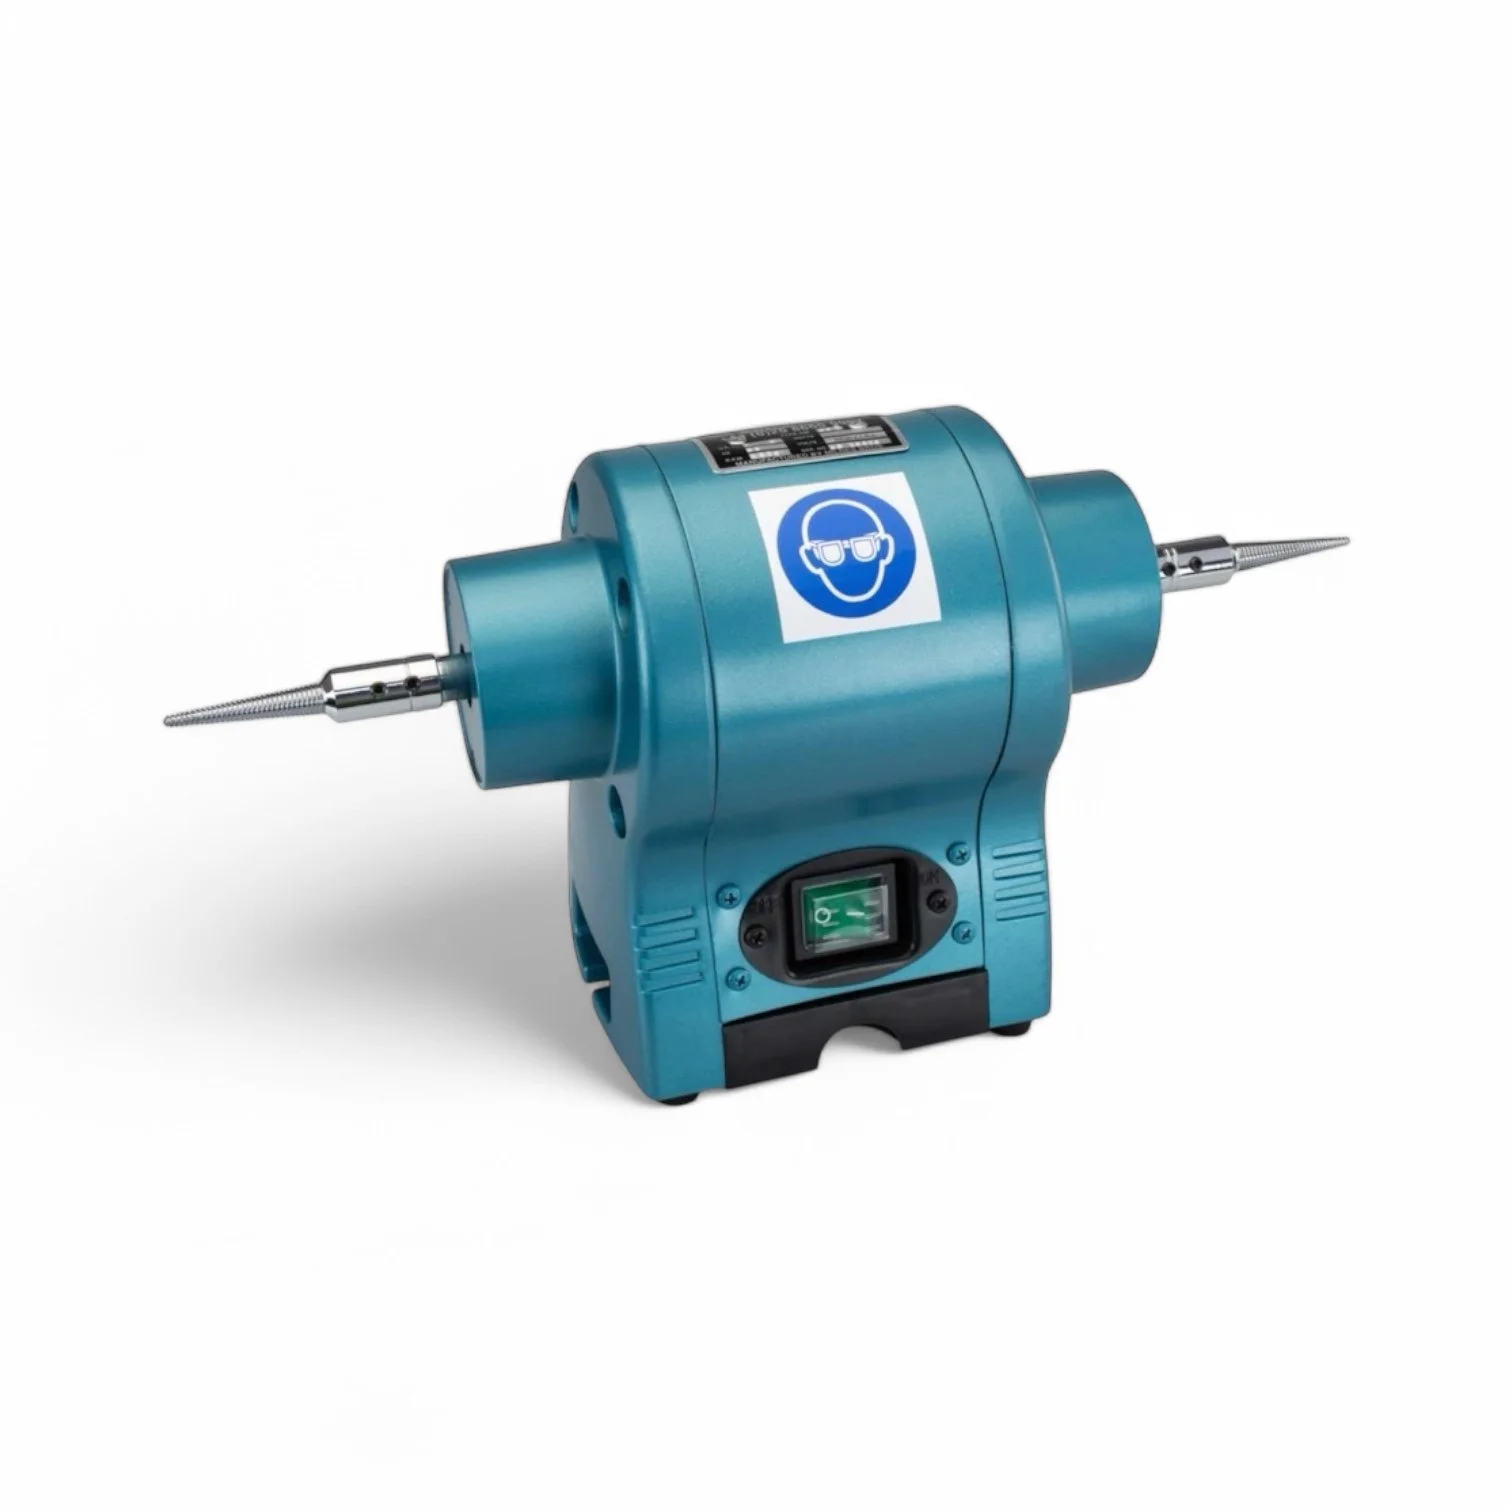
Milboro Polishing Motor
CooksonGold, UK

Foredom Polishing Motor
Cool Tools, USA

Durston Pro Polishing Motor
Durston Tools, UK, USA, Europe
What is a Polishing Motor used for?
A Polishing Motor can be used to polish all kinds of silverware and jewellery at various stages of the making process, to remove file marks and scratches, remove fire scale, and bring your pieces up to a high shine. Usually the polishing motor is the final stage in the making process after filing and sanding, but it can also be used to finish individual component parts prior to soldering in order to polish those hard-to-reach spaces.
How do you use a Polishing Motor in jewellery making/silversmithing?
A polishing motor is a relatively straightforward tool to use. Unlike a pendant motor that has a variable speed that you can change while in use, a polishing motor most often has a set speed and is operated using a simple on and off switch. The motor is turned on, polishing compound is applied to the mops or wheels while they’re spinning, and when the jewellery or silverware piece is brought into contact with the attachments, the friction generated by the spinning motion removes tarnish, scratches, and other imperfections from the surface.
When polishing your creations there are really only three main things you need to remember:
Pressure and Heat. Polishing compound works using a combination of pressure and heat. As you polish the pressure of the metal on the mop causes friction, which in turn causes heat enabling the polishing compound to work. Knowing the right amount of pressure to use comes with experience, but as a general rule if you’re not generating any heat there’s too little pressure, but if it’s too hot to handle it may be too much!
top tip: always keep a pot of cold fresh water beside your polishing motor to dip your piece into to cool it down if it becomes too warm.
Keep Moving. Keep your piece moving consistently at all times. The mops and polishing compound can be really abrasive. It’s surprisingly easy to accidentally polish a dent into your piece if you keep it still on the same spot for too long!
Don’t let go! Unlike a pendant motor where you foot is in control of the speed, a polishing motor will just keep turning regardless of what is going on around it, and if you don’t hold onto your piece tightly it can (and will) go flying across the room. So, it’s important to keep a strong hold on whatever you’re polishing, and concentrate fully to avoid any airborne jewellery!
Don’t be put off though. As with anything, it just takes a little practice to get a feel for using a polishing motor, and the finish you can achieve is second to none.
A note on safety
Safety Goggles Things can (and do!) go flying. Always wear safety goggles when using a polishing motor
Ventilation/Mask Polishing is a messy job, and while some polishing motors have built-in extraction systems, it’s always a good idea to wear a mask and make sure your workspace is well ventilated

Don’t forget to wear your safety goggles!
Attachments and Polishing Compounds
So now we know how it works, how do you know which attachments to use and when? Polishing motors can be equipped with various attachments to achieve different finishes. Here are some common wheels and pads you might use:
I just want to introduce you to a few of the mops and brushes that you can use to polish your pieces. There are lots of different attachments out there but these are my go-to’s and will enable you to polish most things
Top Tip: You only want to use one type of polishing compound with each mop, so make sure you clean your work in an ultrasonic of hot soapy water before changing polishing compound, and keep your mops separate from one another
The Mops

Calico Mop
This mop is made up of lots of layers of calico and is a great all-rounder for initial polishing with tripoli. It’s ideal for flat surfaces like bangles, rings, and silverware

Stiff Bristle Lathe Wheel
These wheels are perfect in the initial stages of polishing to get into the angles and irregular curves of a piece. Use with tripoli to remove scratches and file marks

Reflex Mop
This is a softer, cotton version of the calico mop and is used after the initial polish with rouge to make your pieces really shine

Finger Felt
These are great for polishing the inside of rings and bangles and bringing them up to a really high shine.

Soft Bristle Lathe Wheel
This is the softer version of the black lathe brush and is ideal for using with rouge for final polishing the angles and curves of your pieces.
The Polishing Compounds

Tripoli
Tripoli is used in the initial polishing stages to remove scratch marks and any remaining file marks from your pieces.

Rouge
Rouge is used after tripoli with a soft mop to put a mirror finish on your pieces.
Are you ready to make some jewellery?
Join the Cognac Jewellery School Membership for a new online jewellery project to inspire you every month, access to our members forum, all previous online projects and resources, support and more!

*As a Durston Tools, Cookson Gold & Cool Tools US affiliate I earn from qualifying purchases